
Advertisers walkthrough
This article aims to describe all Advertisers' tabs and their main functionalities.
Summary
On this tab, all the advertisers integrated with the CRM are shown. Here, you can see the general information about each already integrated advertiser as well as their goals and logs.
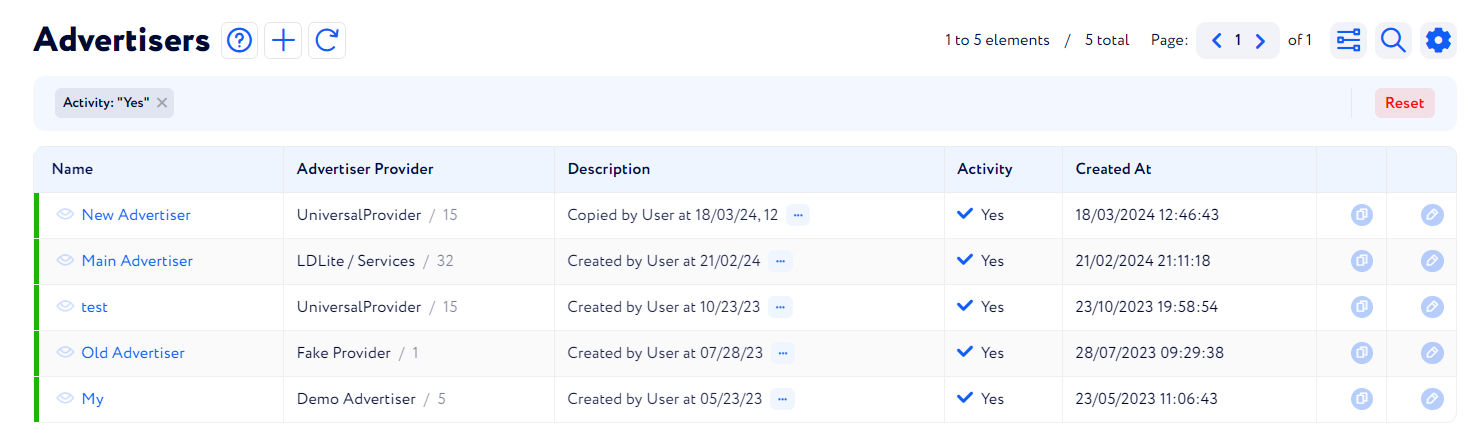
Also, there is an option to create a new advertiser or edit the existing ones.
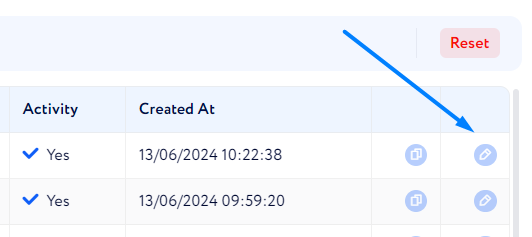
To edit an existing advertiser’s data, click the button next to the necessary advertiser highlighted in the screenshot below and change the information in the appeared window.
To create a new advertiser, read this article.
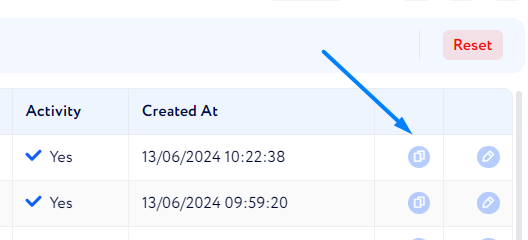
Additionally, if you need to create an advertiser which will have the same settings as an already existing one, you can copy such an advertiser. To do so, click the corresponding button next to the advertiser you wish to copy (see screenshot below).
In the appeared window you can set a new name for the copied advertiser and put a brief description. If you do not set, an advertiser will be copied with the default name and description as follows:
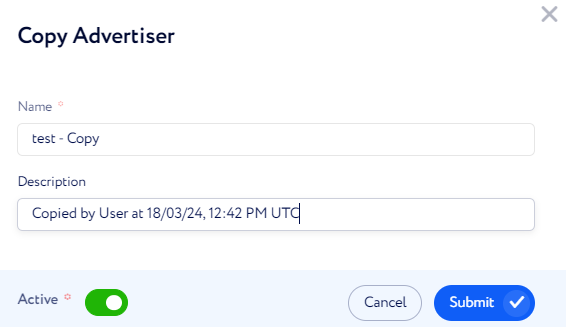
When you submit the action, the copied advertiser will appear in the advertiser list.

Note: A copied advertiser will remain all the settings as for the source advertiser.
Now, let us describe every advertiser section one by one.
Table overview
First item presented on this tab is an advertiser table. It consists of the following columns:
Name – advertiser’s name you set.
Advertiser Provider – integration which connects advertiser's system with Lead Distribution.
Description – brief advertiser description.
Activity – shows if the advertiser is active or not.
Pull Leads Sale Statuses – indicates if leads sale statuses are pulled from an advertiser or not.
Created at – date and time of the advertiser being created in the system.
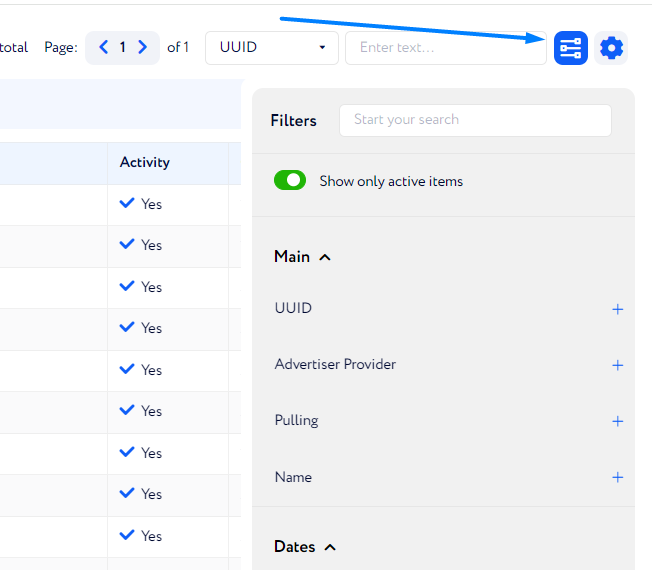
There is an option to filter advertisers by required parameters on this page. To do so, click the button at the top of the page as shown below and choose the filters you need.
When clicking an advertiser name, a page with several tabs containing the advertiser’s information is displayed. Let us describe them one by one.
Basic Information

Some points of this tab are already described at the beginning of this article. Besides, the information about recent leads and FTDs passed to this advertiser is represented in the table and in the chart of this tab.
Integration Settings
Here, the API integration between the platform and the advertiser is set up.
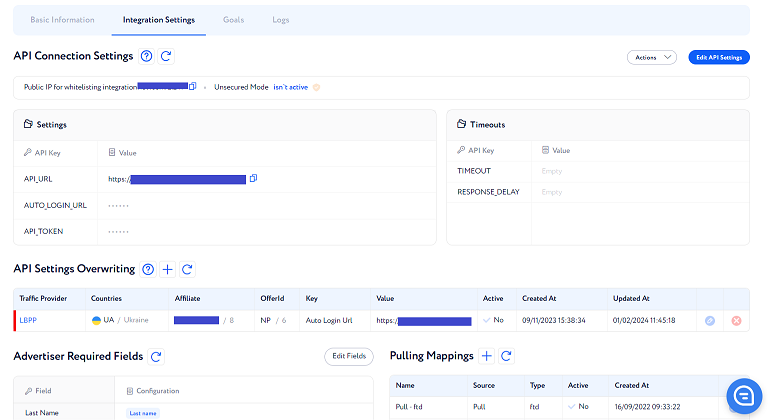
Note: The integration is performed according to the API documentation provided by an advertiser.
Goals
The information about existing goals for a certain advertiser is displayed on the Goals tab.
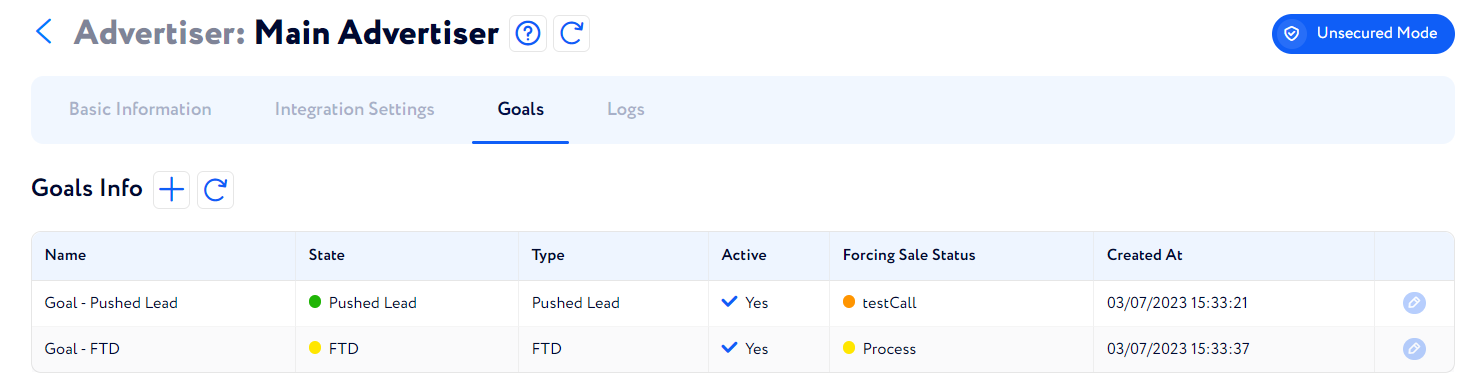
The Goals Info table contains the following goal data:
Name – name of the goal.
State – targeted lead state based on your lead flow.
Type – conversion type you want to target.
Active – defines if the goal is active or not.
Forcing Sale Status – sale status which will be automatically assigned to a lead once they’ have reached the set goal type.
Created At – date and time of a goal being created in the system.
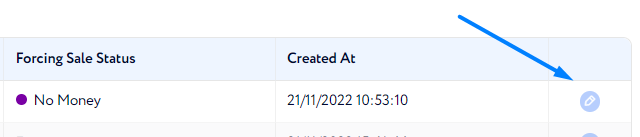
If you need to edit an existing goal, click the button next to the required goal (see below) and change the information in the appeared window.
If a new goal needs to be created, we recommend you get familiar with this article.
Logs
On the Logs tab, you can find the records of all errors that happened to an advertiser.
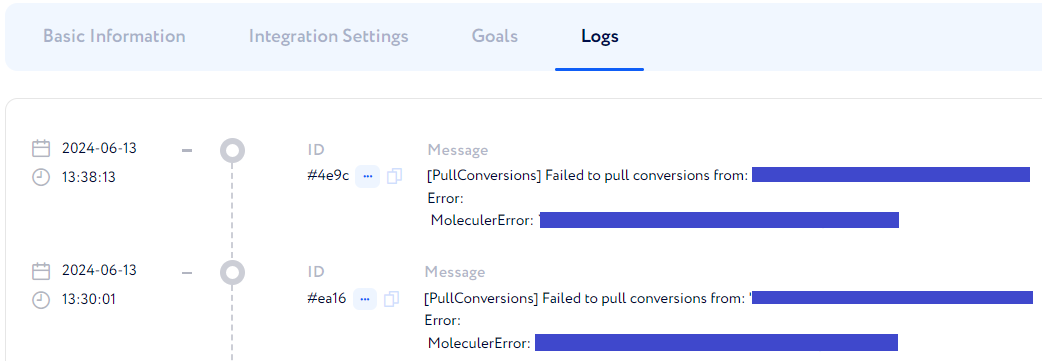
The most recent logs are shown at the top; the older the record, the lower it is in the list.