Where to start?
This article briefly covers the main steps new affiliates should focus on to complete onboarding and start getting commission for generating traffic.
The check-list below encompasses all prerequisites you may need to complete before starting marketing activity:
Provide required documents (optional).
Connect your conversion tracker (optional).
Review offers and generate links.
Provide documents
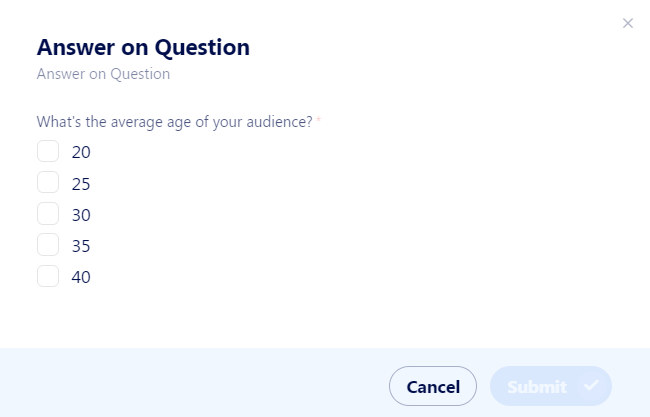
Depending on the advertisers’ needs, questionnaires and document requests appear upon logging in. Answer questions honestly to clearly state what kind of advertising resource you have. That may impact what offers will be available to you and overall marketing effectiveness.
Don’t worry if you’ve closed them when seeing them for the first time.
To view questions again, simply refresh the Dashboard page.
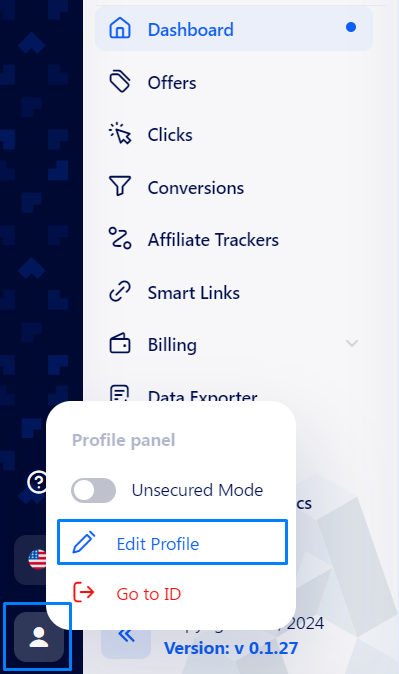
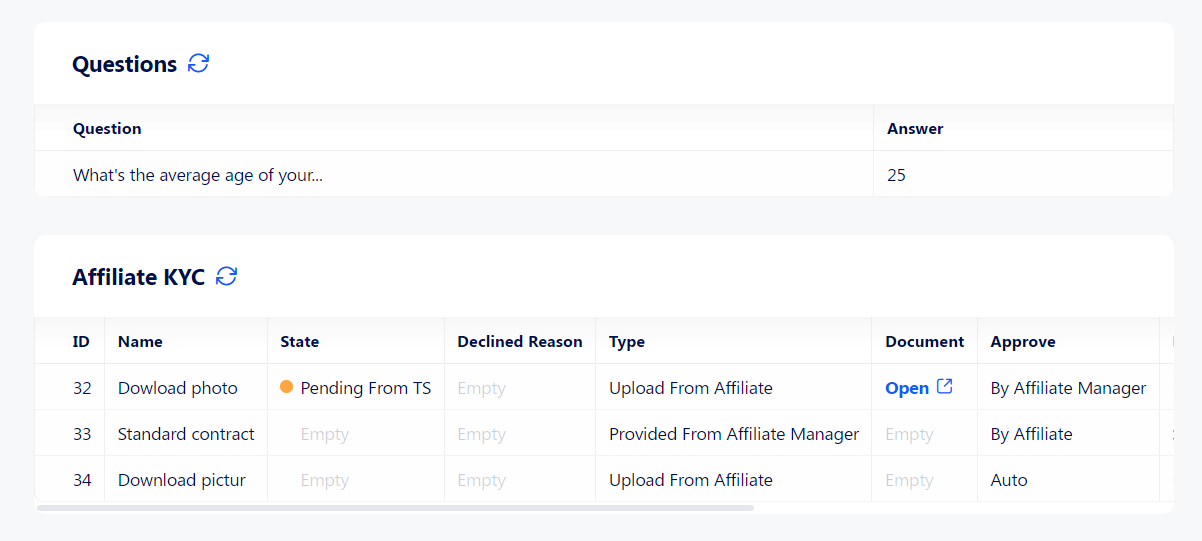
You can always review the history of questions, your answers and their current stage in your settings:
Go to profile settings.
Scroll down to the Questions and the KYC widgets.
These widgets show the questions you’ve already answered and the history of document flow: what document you’ve sent, what’s the state of the process, and general description.
Set up conversion Trackers
Trackers are S2S (server-to-server) connections to your external resource that notifies you about conversions.
In general, you don’t have to add a third-party tracker, but you can if you want to. Here is full instruction on how to configure your trackers. Conversion tracking is embedded in the platform: records of clicks and conversions are correctly displayed in the Traffic Data section and they don’t require a tracker.
Review offers and generate links
You are just one step from gaining profit. It’s time to choose an offer and start promoting it.
Offers table
Go to the Offers section to browse all offers available to you.
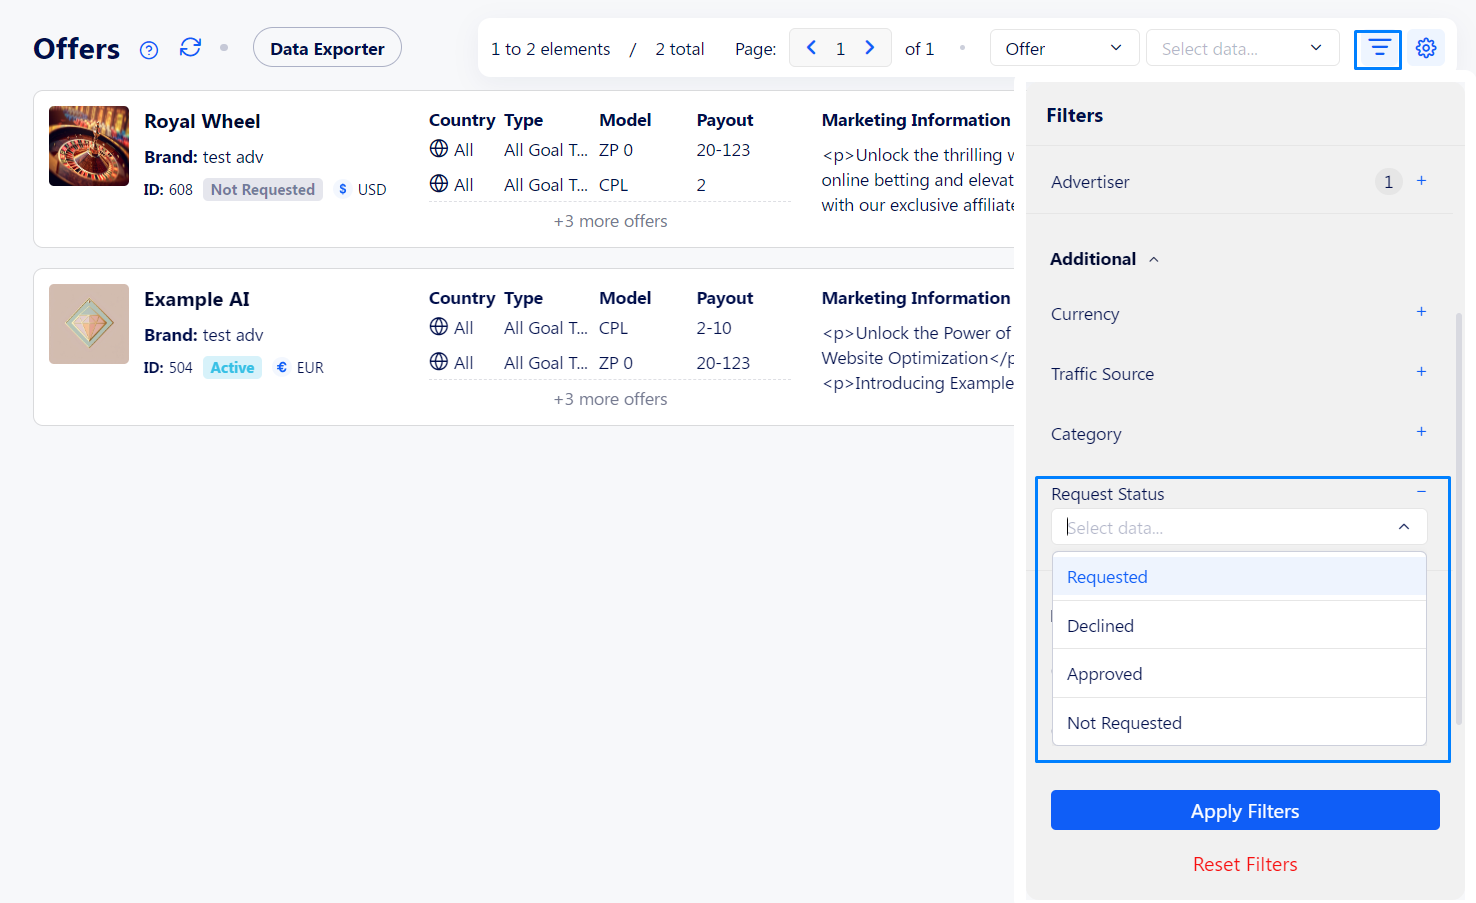
The table covers general information about offers and payout models.
Here you find two types of offers: ones that you can start promoting immediately and others that you first need to request access to.
Click the Request Access button to notify administrators that you would like to promote the offer. The status badge of the offer will change, and you can monitor available offers via filters:
Offer Profile
When you have access to the offer or it’s not needed, review all the details about the Offer and generate a link to promote it.
Click the Get link button to open the Offer page.
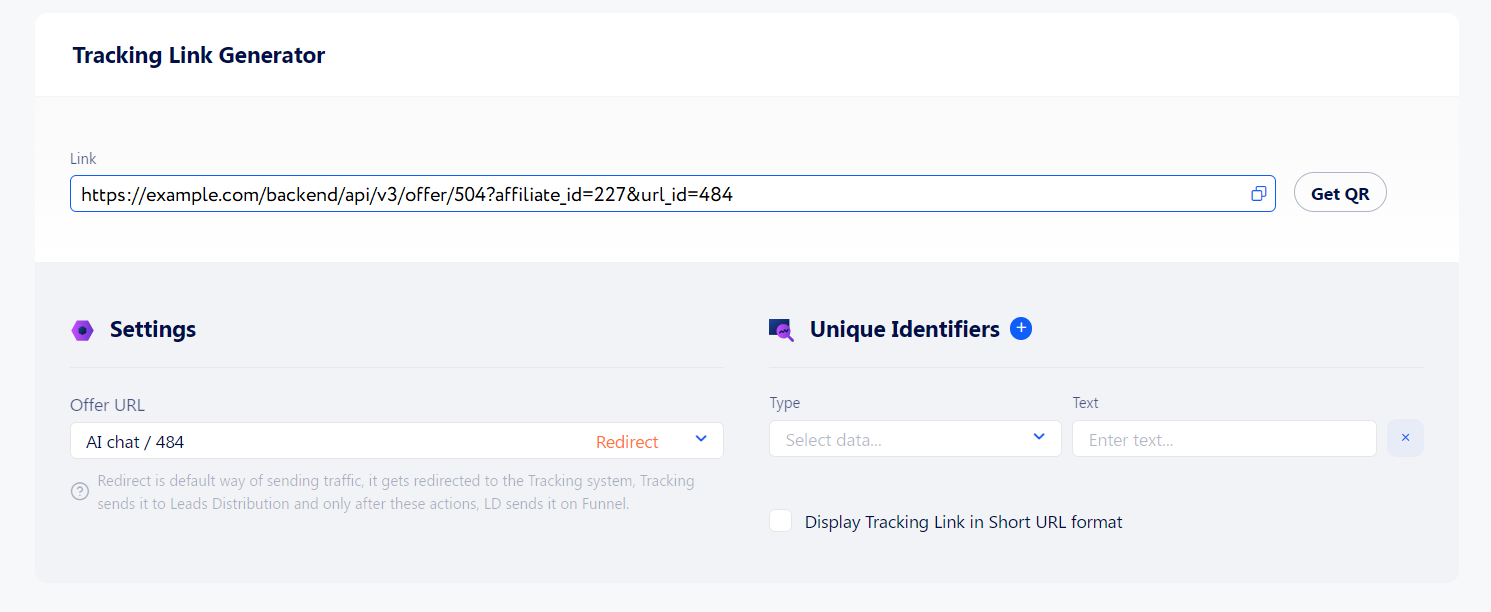
If the offer fits your resource, scroll down to generate a tracking link.
This is a link that you should generate traffic to. When a lead opens such a link, the tracking information is captured via the tracking domain and quickly passed to the platform, meanwhile, the lead is redirected to the advertised page.
Offer URL: the advertised page where the leads will be redirected after clicking the link. The list of available URLs is provided by administrators.
Unique Identifiers: additional tracking data. You can set as many parameters as you like and provide custom information via 20 unique Aff Sub fields. All these data will be recorded in the Clicks table and assigned to a click each time a lead opens that tracking link.
For quick access, the Tracking Link Generator is placed at the bottom of the Dashboard page. Use it to generate tracking links for all available offers.

