
How to setup Brand Integration
This article is a step-by-step guide on how to create a brand integration.
Step 1. Receive API documentation and credentials from the brand
If a brand has whitelist, please provide them with the following IPs:
159.223.225.162
142.93.226.122
146.190.227.219
37.120.141.152
37.120.141.171
37.120.141.178
37.120.141.138
37.120.141.182
Step 2. Setting up the LD
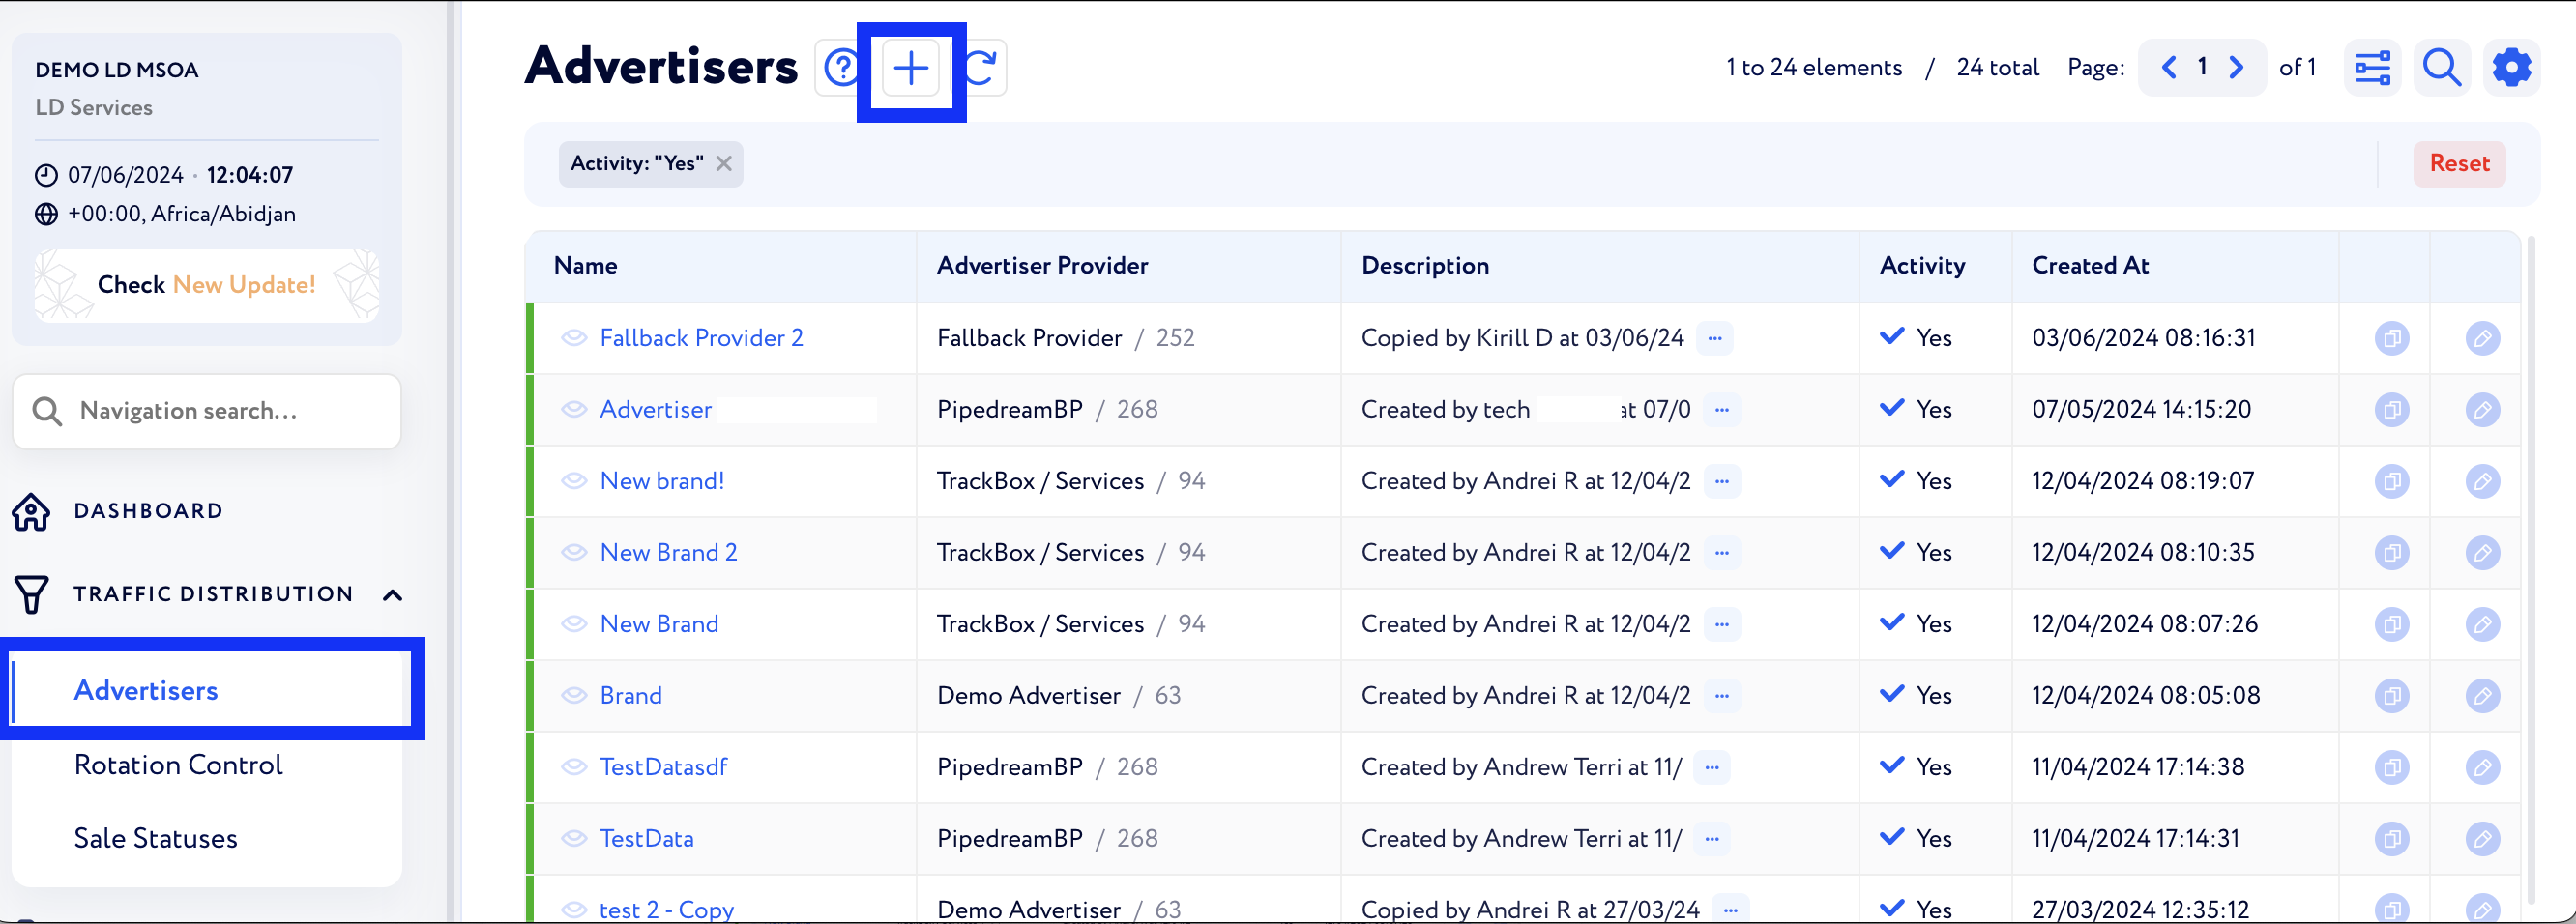
1) Go to "Advertisers" and click on the “+” sign
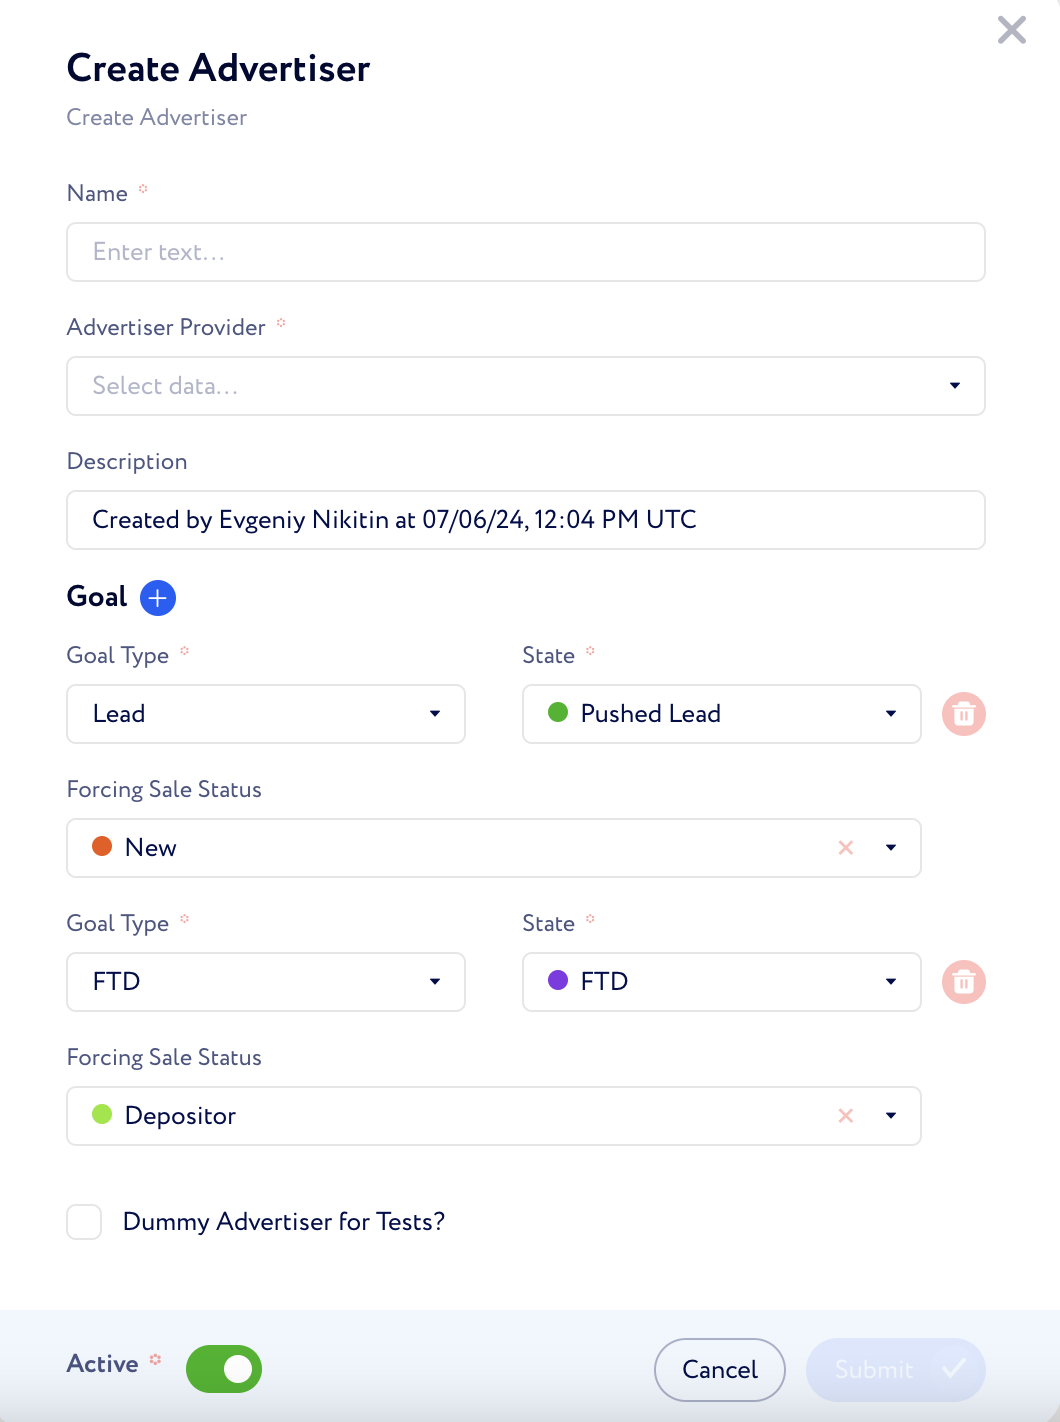
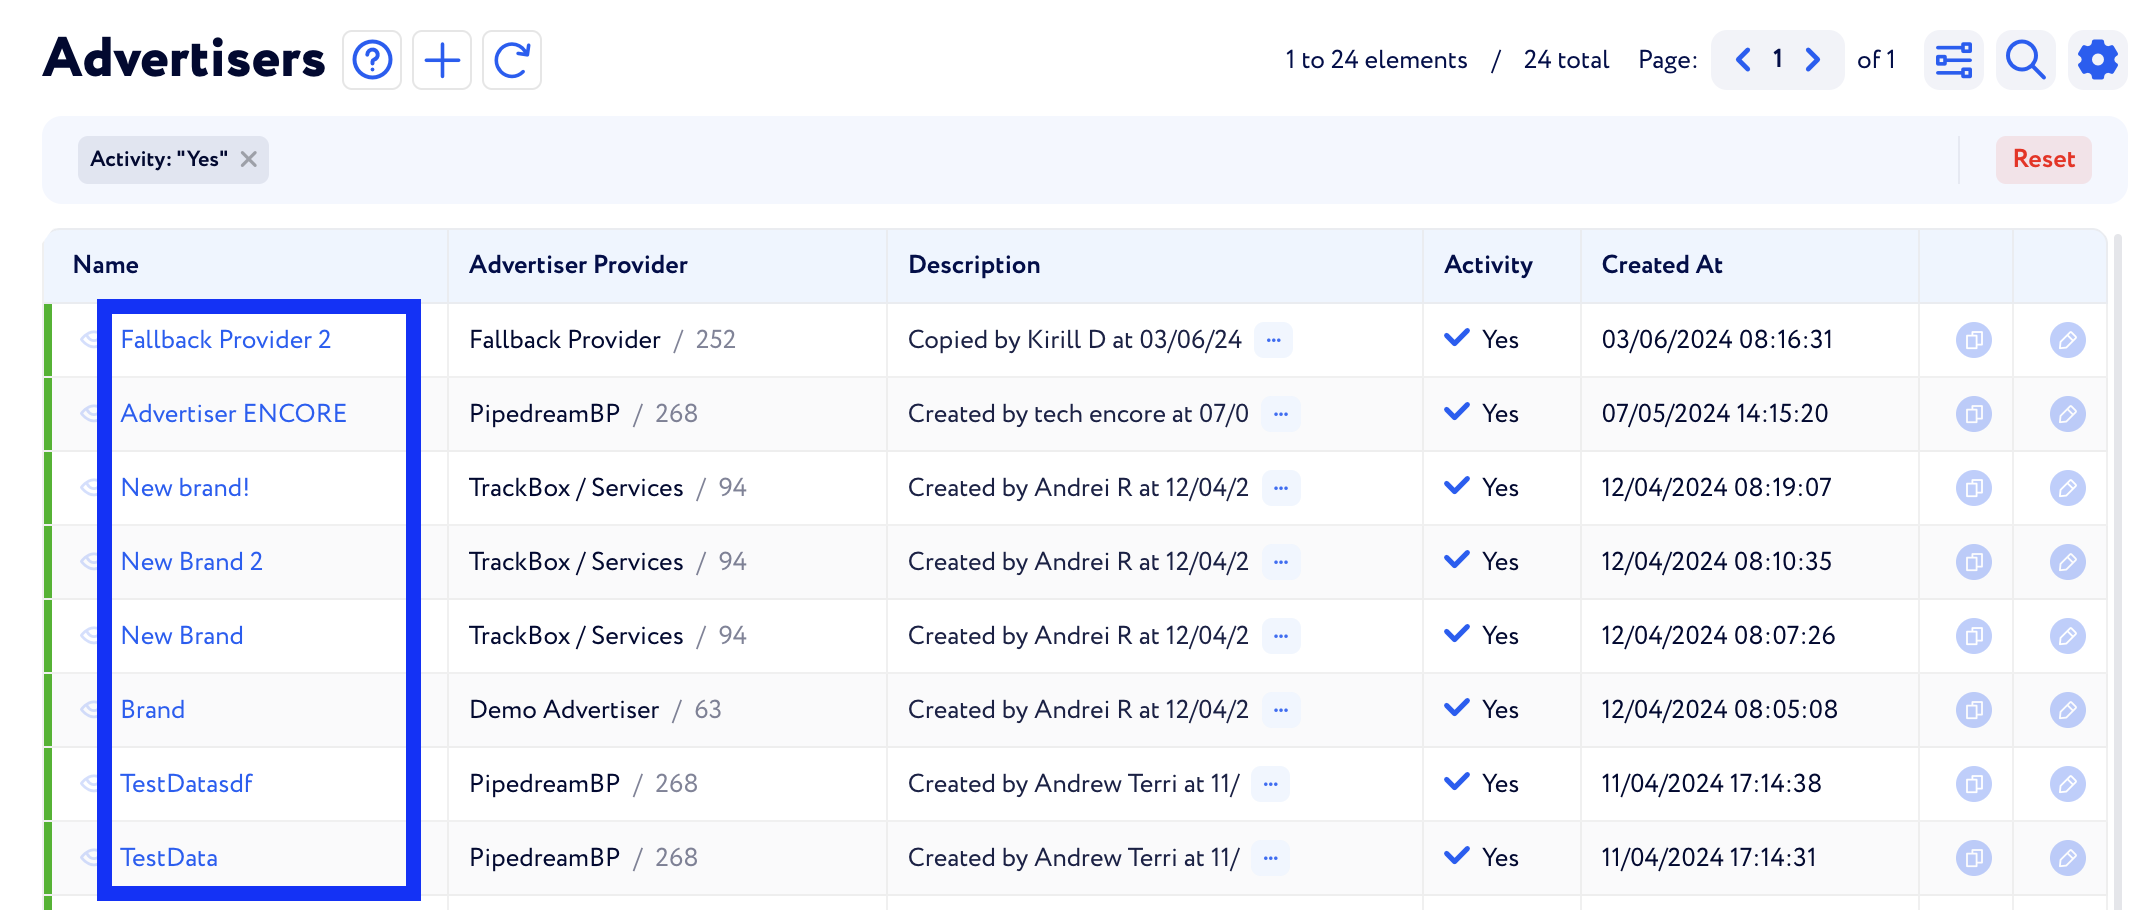
2) Fill in the data based on your requirements
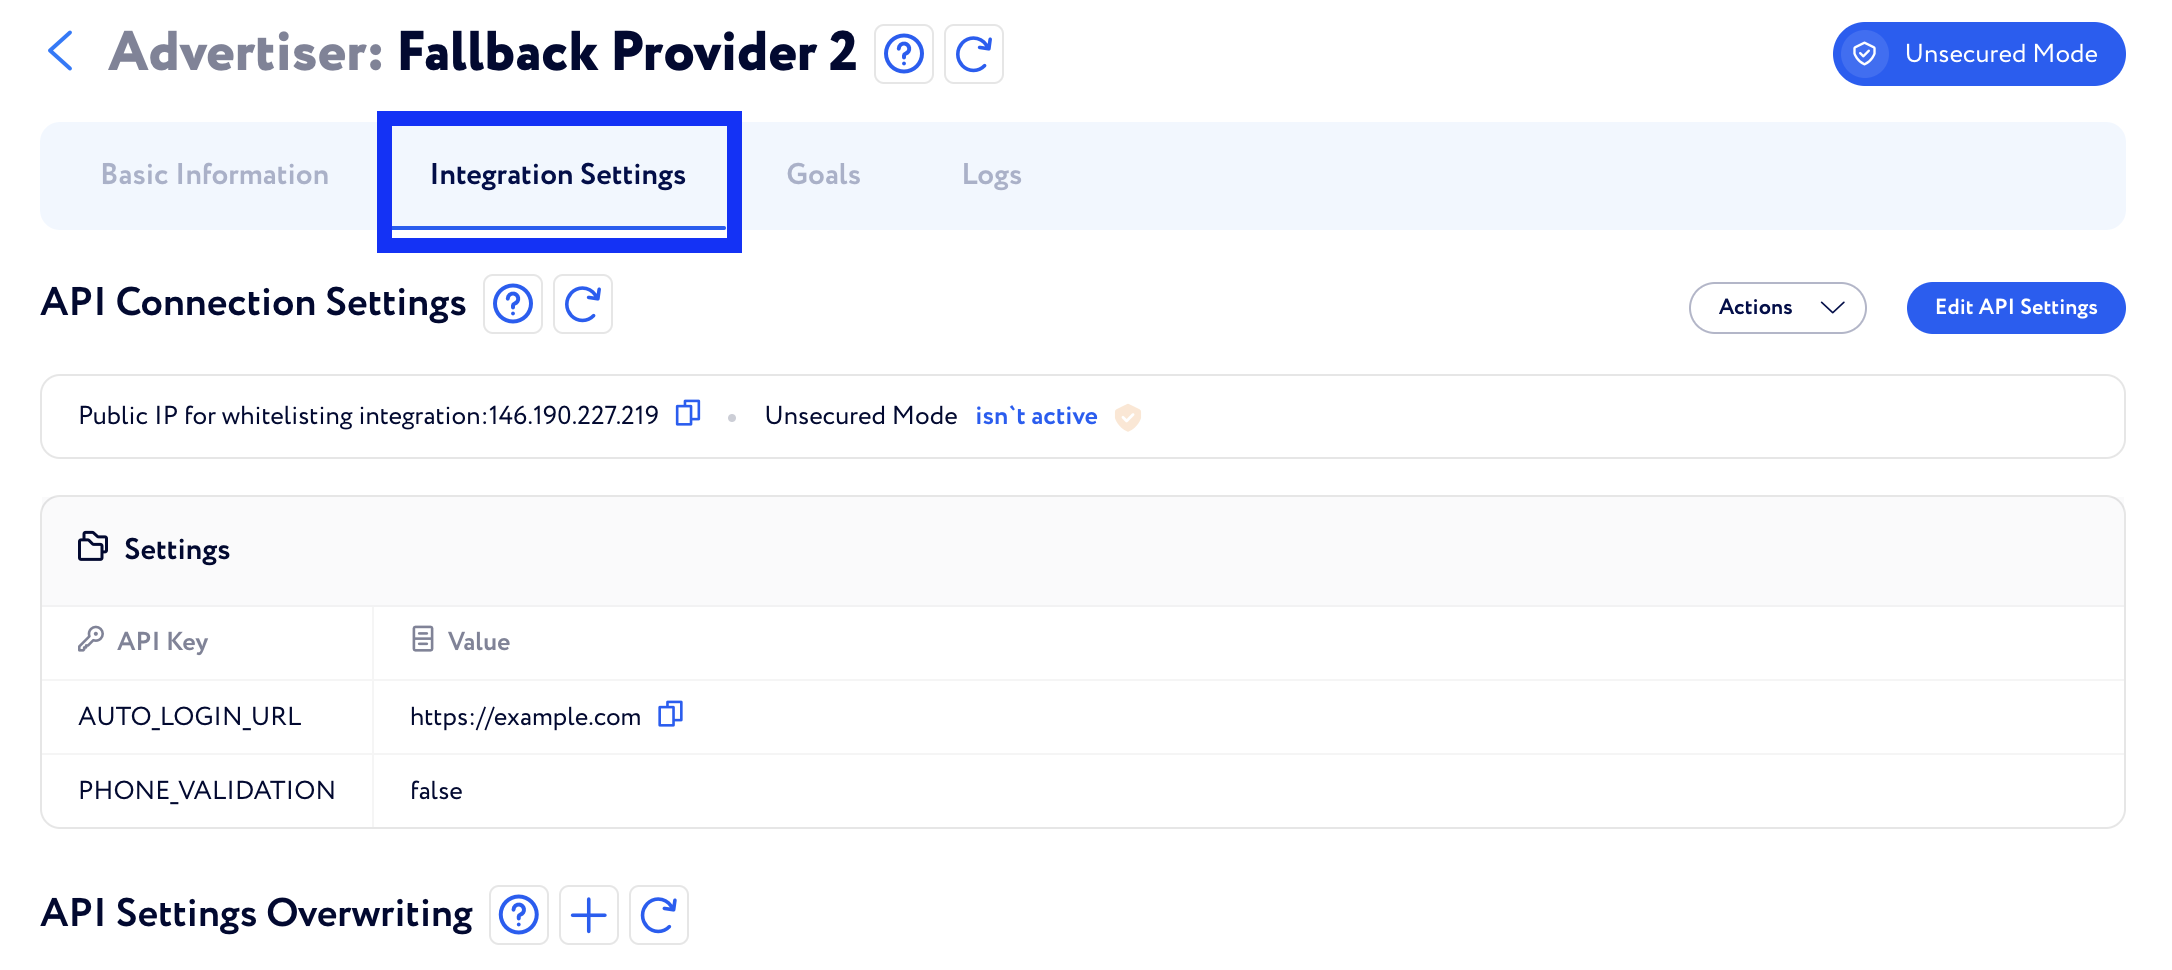
3) Once the Advertiser is created, go to the “Integration Settings” section and fill the data as shown on the screenshots below
4) After filling the “Integration Settings” and the “Advertiser Required Fields” sections, scroll up, click “Actions” → “Test settings”

If you see an error message, check the logs. Empty body doesn’t always mean that the integration is not working. We still need to push the lead
5) Setup the rotation for the brand with the Test affiliate (go to the “test” folder, insert the brand’s id for the advertiser)
Rotation setup guide can be found here
If you already have a relevant Rotation Folder set, change the Advertiser to the one you’re going to send the test to
Make sure that the Rotation in question is active!
Step 3 (Optional). Editing the Goal Types
Please skip this step if you don't require any edits in the Goal Types
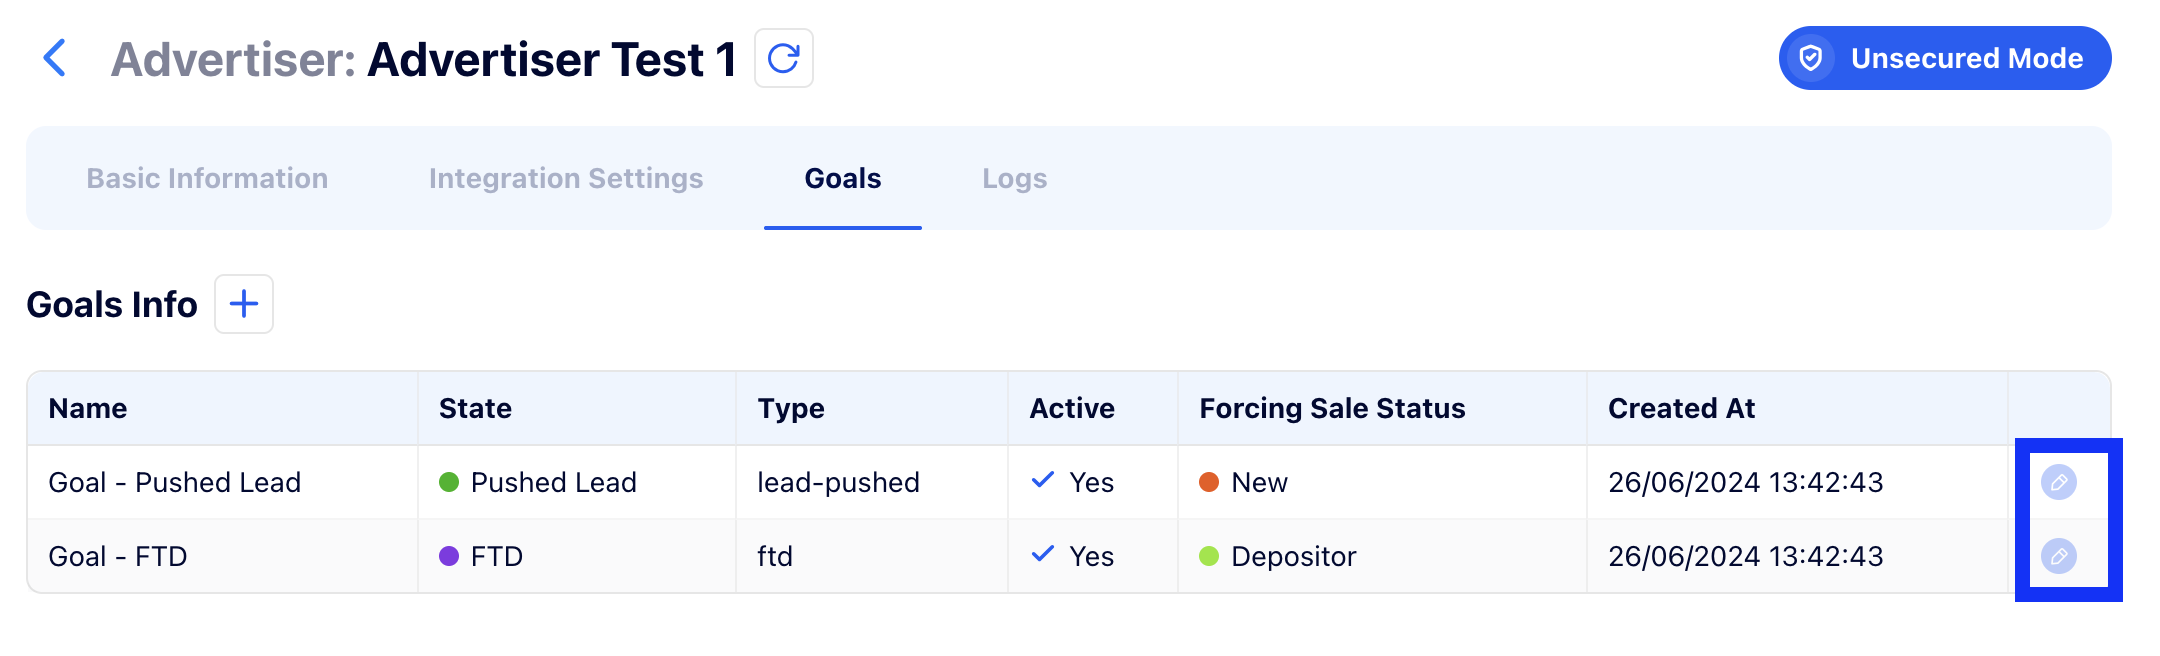
1) In the created "Advertiser" go to the "Goals" page and click on the “Pencil” sign
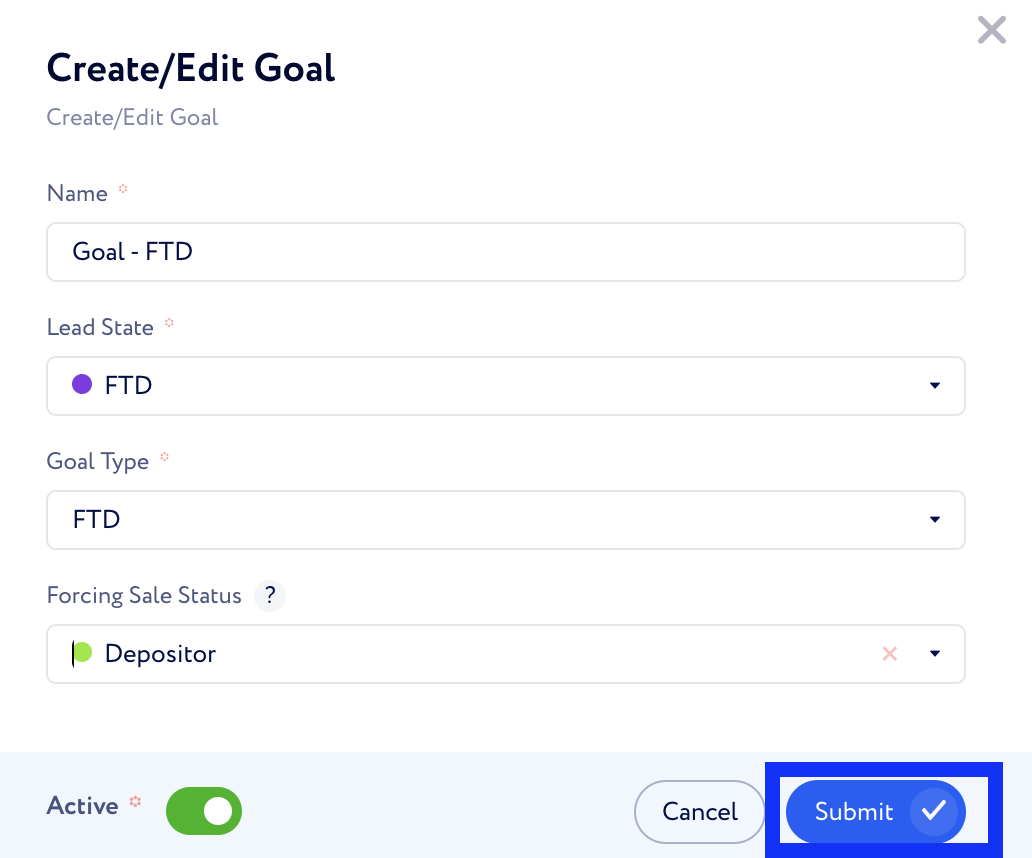
2) Fill in the information as shown on the screenshot and click “Submit”
Once the Rotation and Goal are set, we can send a Test Lead
Step 4. Sending the Test Lead
1) There are 3 ways to perform the Test:
2) Once the test lead was sent to the required GEO, mark it as "Test"
A video guide on how to mark a lead as "Test" can be found here
3) Ask the brand to fire FTD and send the lead’s email
Once you see FTD on the test in your LD CRM, the integration is completed!