
Sale Statuses walkthrough
In this article, you may find information on the Sale Statuses tab's main functionality.
On this tab, you can assign your CRM sale statuses created in the "CRM Sale Statuses" settings (at the left of the screenshot below) to the sale statuses of any of your advertisers (if any in the "Unassigned Statuses" area).

To assign CRM sale statuses to advertiser’s ones you need to drag a necessary advertiser sale status from the "Unassigned Statuses" section to the required CRM Sale Status line.
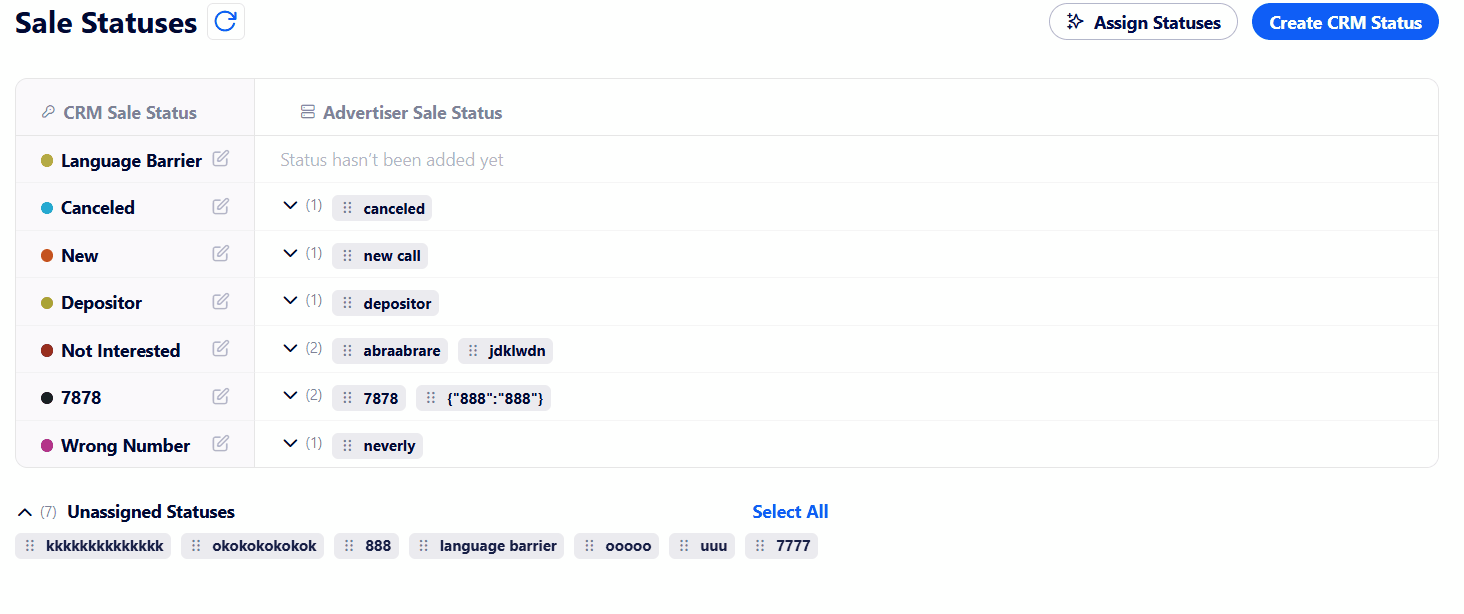
Also, you can select several statuses and map them in one click using the following button:
If you do not want to map sale statuses manually, there is an option to map them automatically. To do that, click the “Assign Statuses“ button at the top right corner of the page:

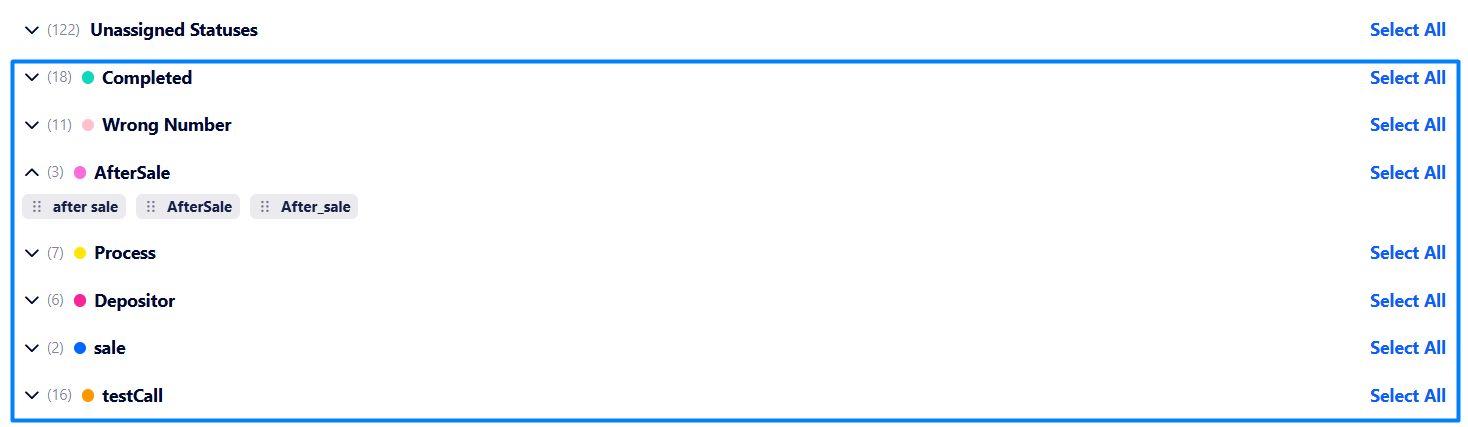
Once clicking, the system analyzes all currently assigned statuses with AI assistance and then sorts all unassigned ones accordingly as a suggestion below the Unassigned Statuses area.
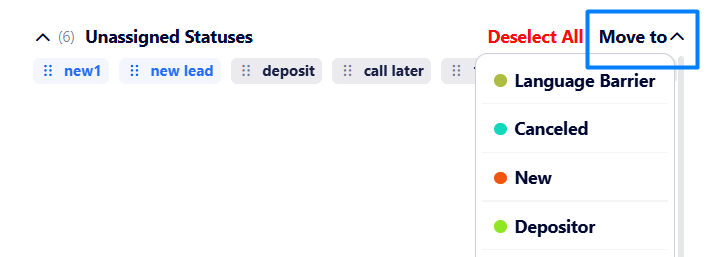
If the statuses match as needed, you can confirm mapping by clicking Select All → Move to and select a corresponding CRM sale status.
If there are only several statuses that match, you can select them and then click “Move to“ as well.
Otherwise, you can click “Unassign Statuses“ to undo the action.

Note: The suggestions are made based on the already assigned sale statuses.
Thus, now you can map sale statuses faster using AI-driven sorting based on already mapped sale statuses.
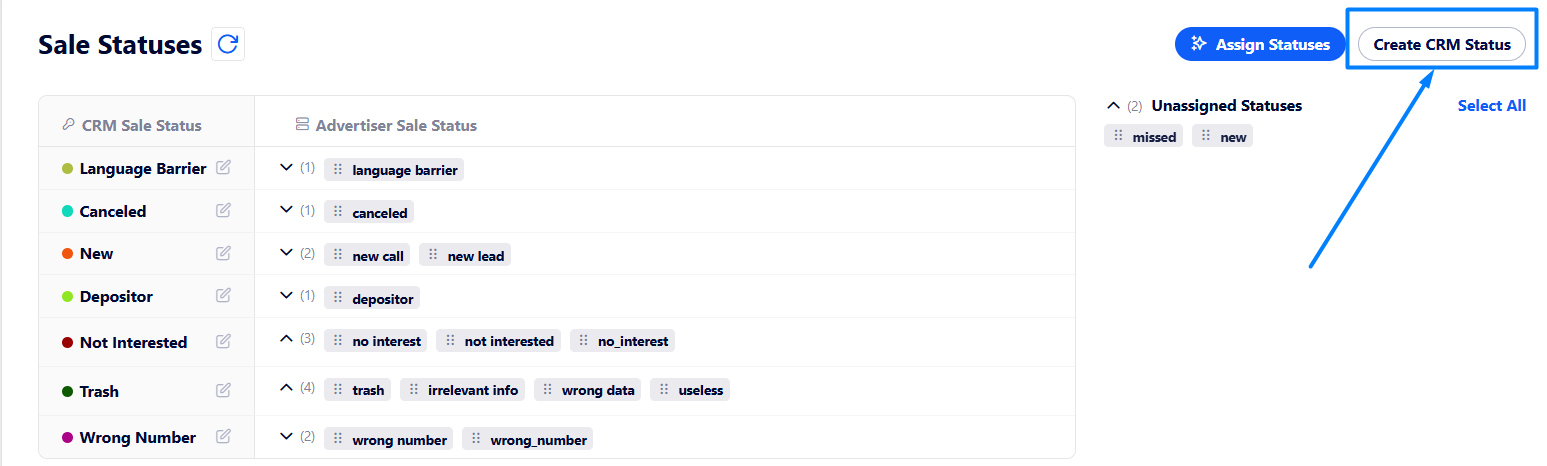
If you need to create a new CRM sale status, click the "Create CRM Sale Statuses" button located at the top of the page.
Then, create a new sale status or edit an existing one.
We recommend you get familiar with this article to learn more about creating a CRM sale status.