
How to add presets for Data Exporter?
To create a preset, follow these steps:
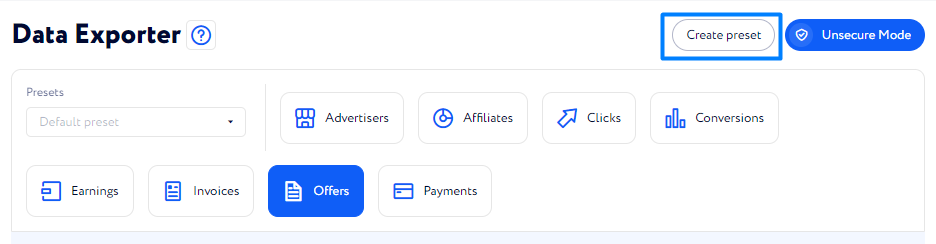
Go to Reports>Data Exporter and click Create Preset.
When on the Presets List page, click "+" next to the page title.
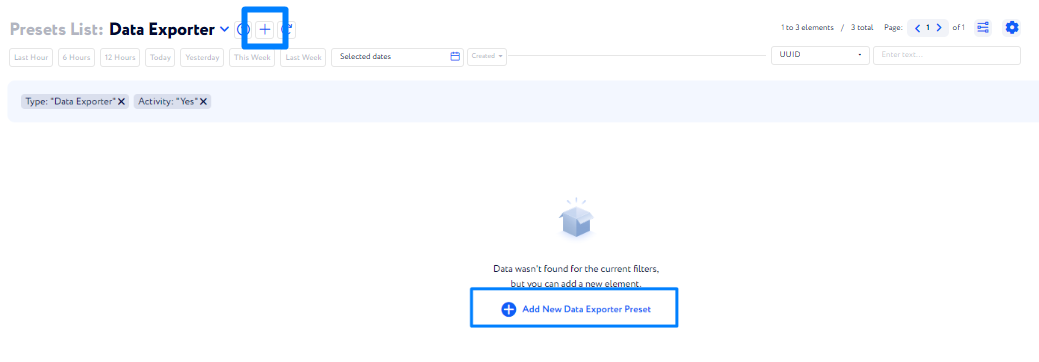
Then, a window for creating a new preset appears.
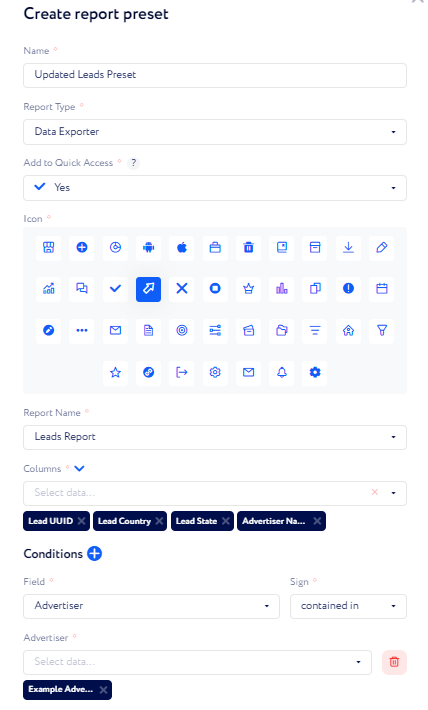
Fill in the following fields in this window:
Name – set a name for this preset.
Report Type – select a report type. In this case, choose Data Exporter.
Add to Quick Access – define if you want a preset to be displayed in the quick access area or to be shown in the dropdown list (see screenshot examples below).
Icon – choose an icon for the preset to make it more recognizable.
Report Name – select what report you wish to generate out of the dropdown list.
Columns – choose the columns to be displayed in the report. In the report, the columns will be arranged according to the order you select them in this field.
Conditions (optional) – set the conditions to filter data for the report.
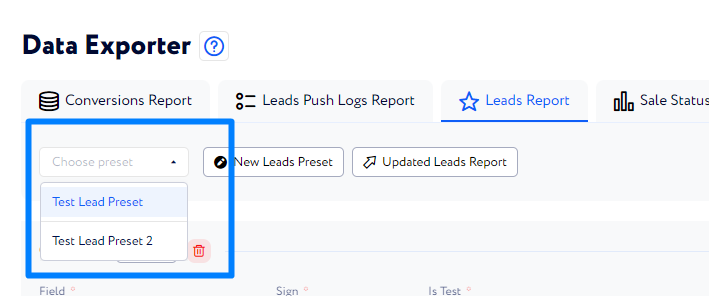
Once you are done with creating a new preset, it appears on the Data Exporter page. If you added a preset to the Quick Access Area, it is displayed as follows:
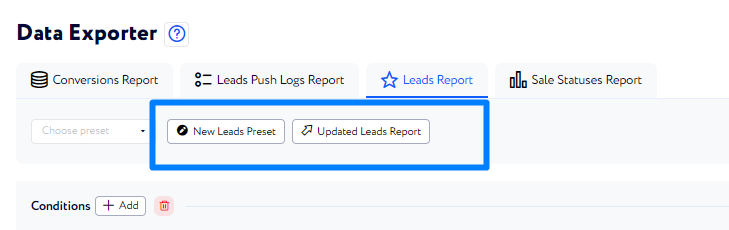
Otherwise, you can find presets in the dropdown list here:
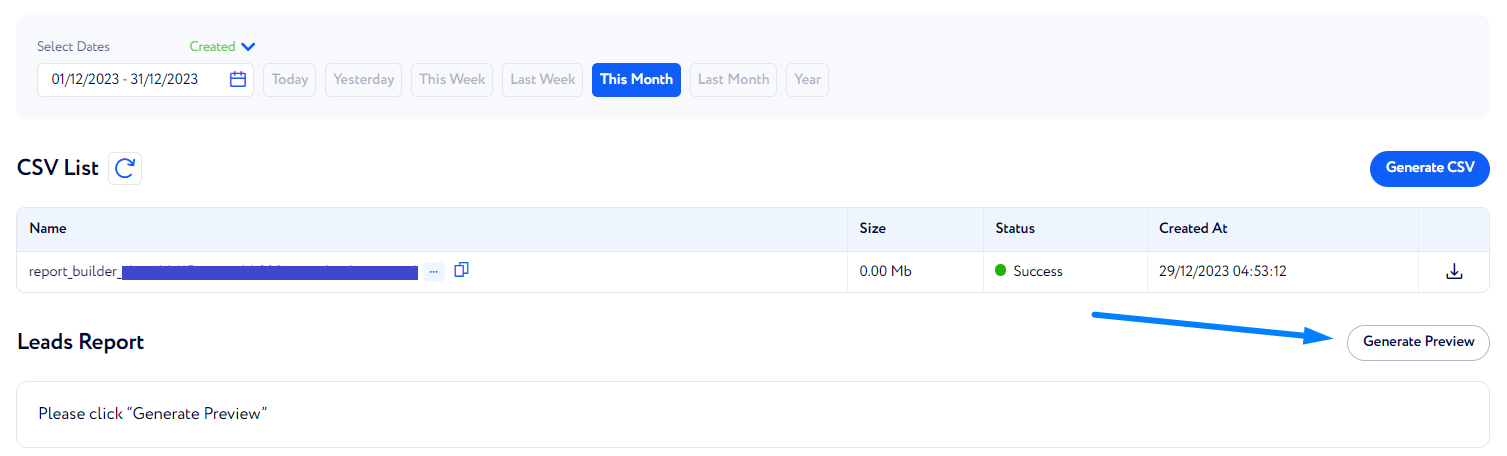
When you chose a preset or created a customized template from scratch, select a period of time for report generating below.

5) Then, you can either generate a CSV report and download it or generate a quick preview.
Generating a preview.
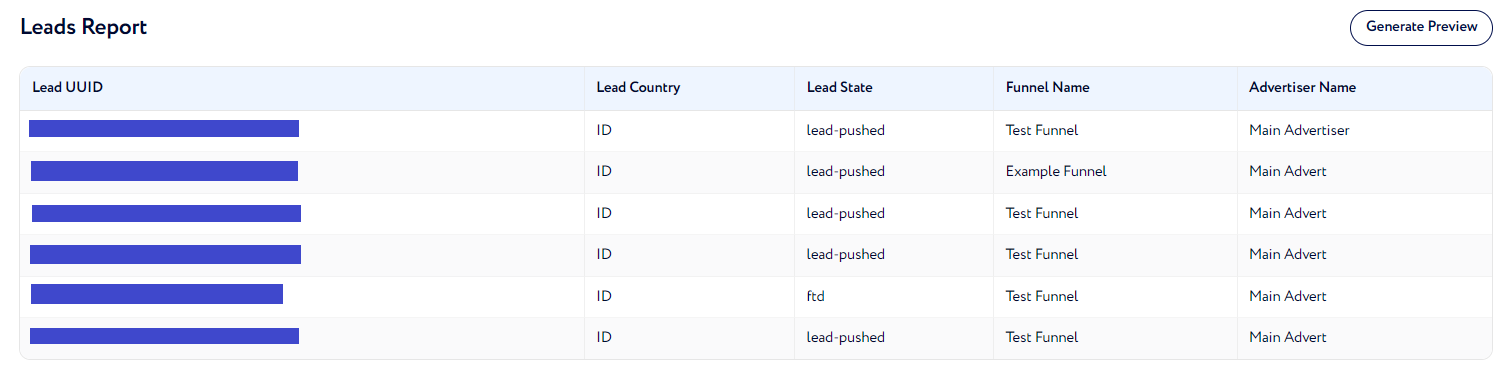
To generate a report preview, click the Generate Preview button in the bottom right corner.
Then, you can see a report based on the columns and conditions you specified.
Generating a CSV report.
To generate a CSV report, click the Generate CSV button as highlighted in the screenshot below.

Then, in the appeared confirmation window click Submit and the report appears in the CSV List table.

If the report does not appear, click the "refresh" icon next to the table name.

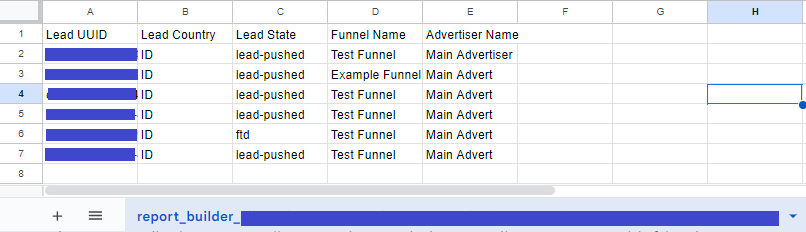
To download the report, click the "Download" icon next to the required report line, then click Submit in the appeared window and open the downloaded file in the corresponding program.

The example of the downloaded report is shown below.
Note: in order to generate a report in the CSV format and download it, make sure that the Unsecured Mode is switched on.