
How to create an Earning list?
This instruction covers all stages of creating of an earning list in details.
The creation of an Earning List can be split into 3 stages:
Collecting conversions and transactions
Editing their payouts (optional)
Applying changes.
Step 1. Collect Conversions and Transactions
Create an Earning List for an affiliate
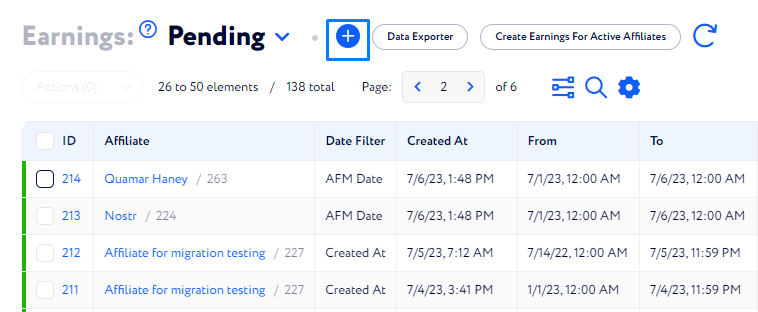
To create an earning list for one affiliate, go to Finance & Tools>Earning and click the plus button. Then follow these steps:
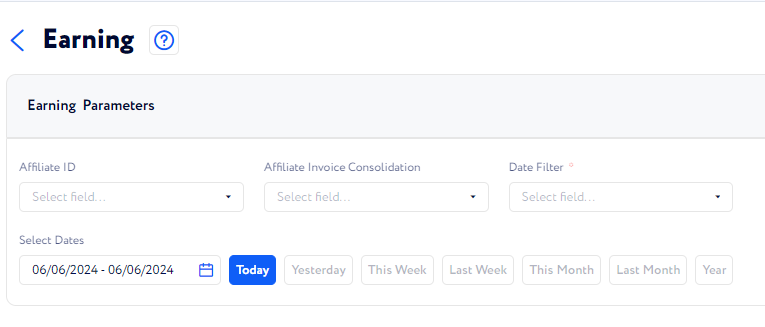
Select the Affiliate for whom you want to generate an Earning List.
Alternatively, select an Affiliate Invoice Consolidation Group to unite a single earning for several affiliates. It's designed for cases when a single company or an individual runs several affiliate accounts and needs to simplify their billing.
Select by which date conversions get added to Earning lists using the Date Filter:
Created at means that conversions are matched with the billing timeframe by their creation dates.
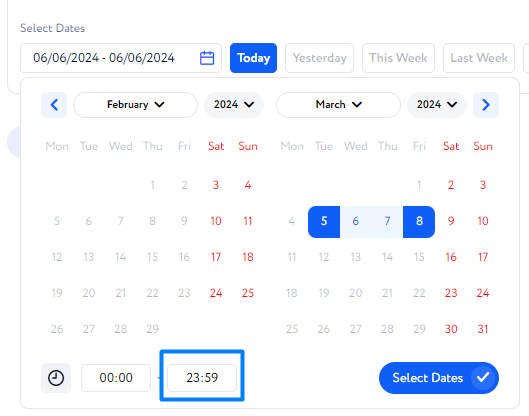
Select a billing timeframe to list all conversions and transactions which occurred during it.
Note: to avoid data discrepancies, use the default hour value 23:59 PM in the Date End field. Otherwise, some conversions may be missed and left unpaid.
Click Generate Earning List, and the list of payouts will appear.
Create earnings for several affilaites
Alternatively, you can generate earning lists for all affiliates that were active during a set period.
To do it, follow these steps:
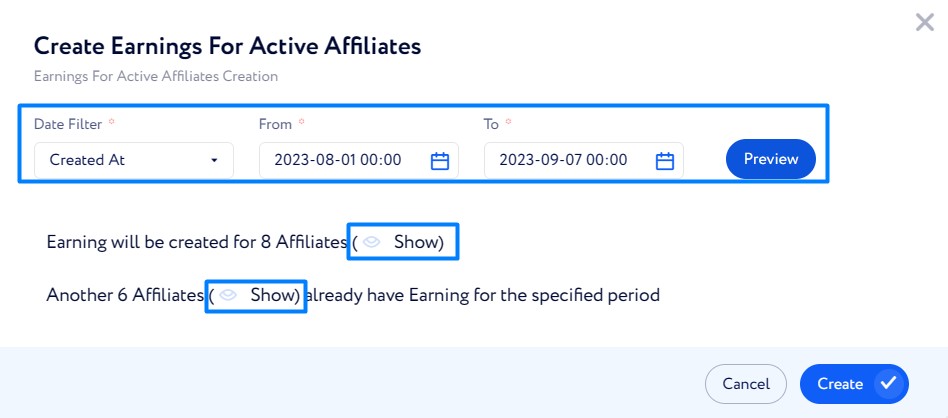
Go to Earnings and click Create Earnings for Active Affiliates.
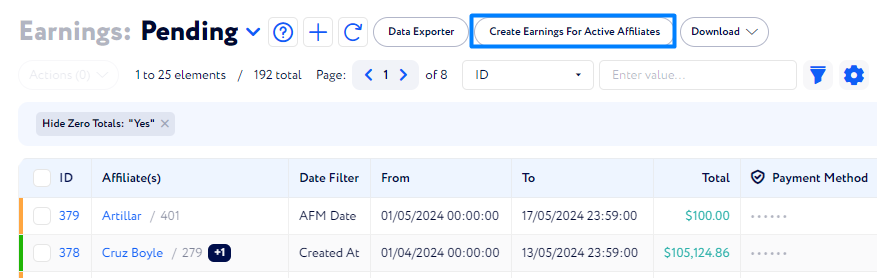
Configure a billing timeframe and click Preview.
Click the eye button to check the list of affiliates for whom earning lists will be created.
Click Submit.
Step 2. Edit the Earning List (Optional)
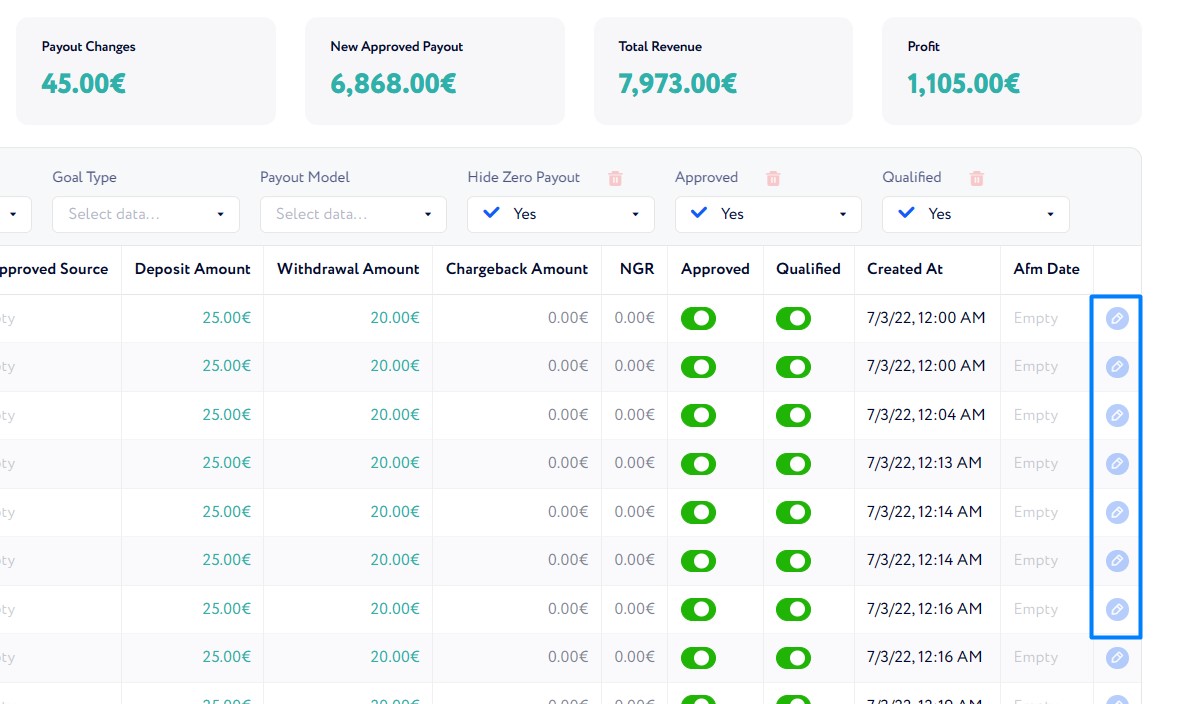
Once the list of earnings has been generated, you can view detailed information on each payout, check the total sum of the payouts, and, if needed, correct some or all payout values.
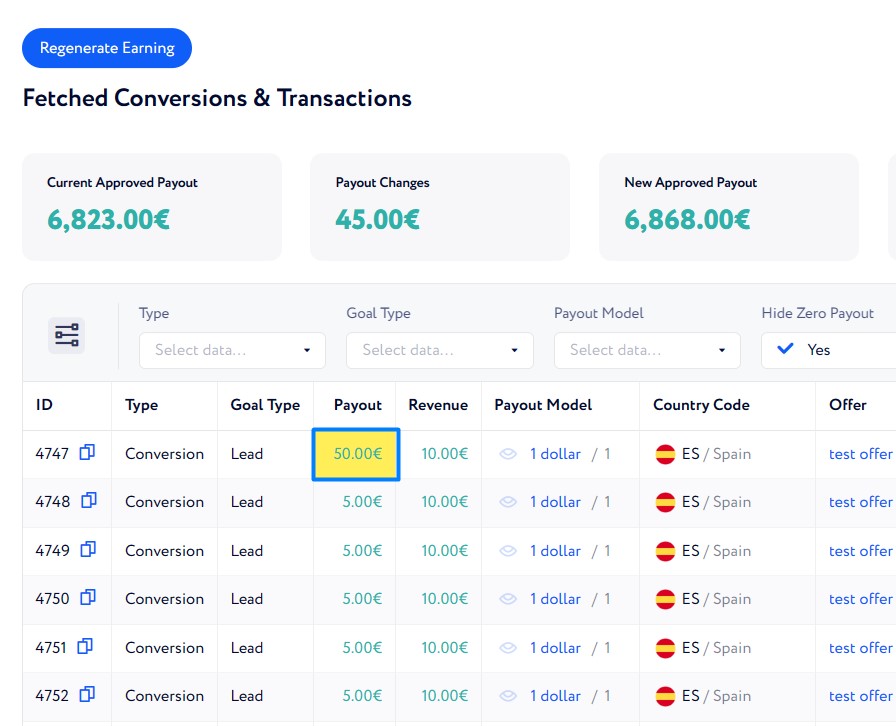
To change the payout value for a conversion or a transaction, click the ID of an earning list, then click the Pencil icon.
All edited values get highlighted. The value differences, before and after you have edited payouts, are recorded in the Payout Changes field.
Step 3. Approve the Earing List
When the earning list is ready, you can save changes and set different statuses:
Click Apply Changes to confirm all changes in the earning list and attach the Applied status to it so that the affiliate can create an invoice from this earning list.
After clicking it, you can review all the changes.
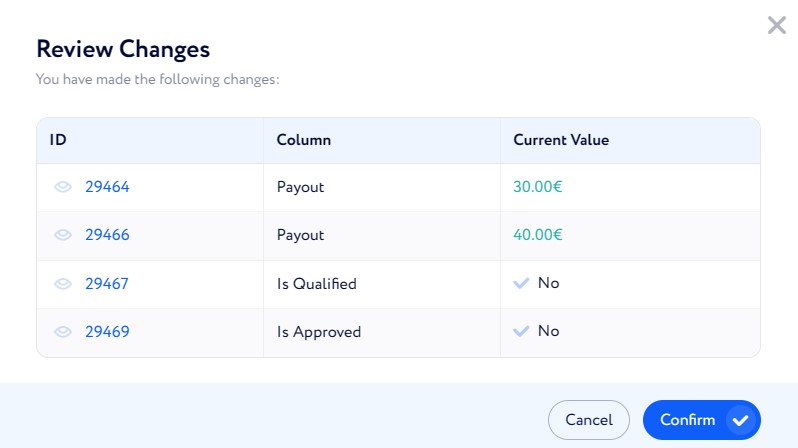
Set Paid status to move the earning list into a separate table. Affiliates can’t create invoices from these earning lists.
If you want to continue editing the earning list later, click Save as Draft. All changes stay highlighted. Besides, affiliates can’t create invoices from earning lists with this status.